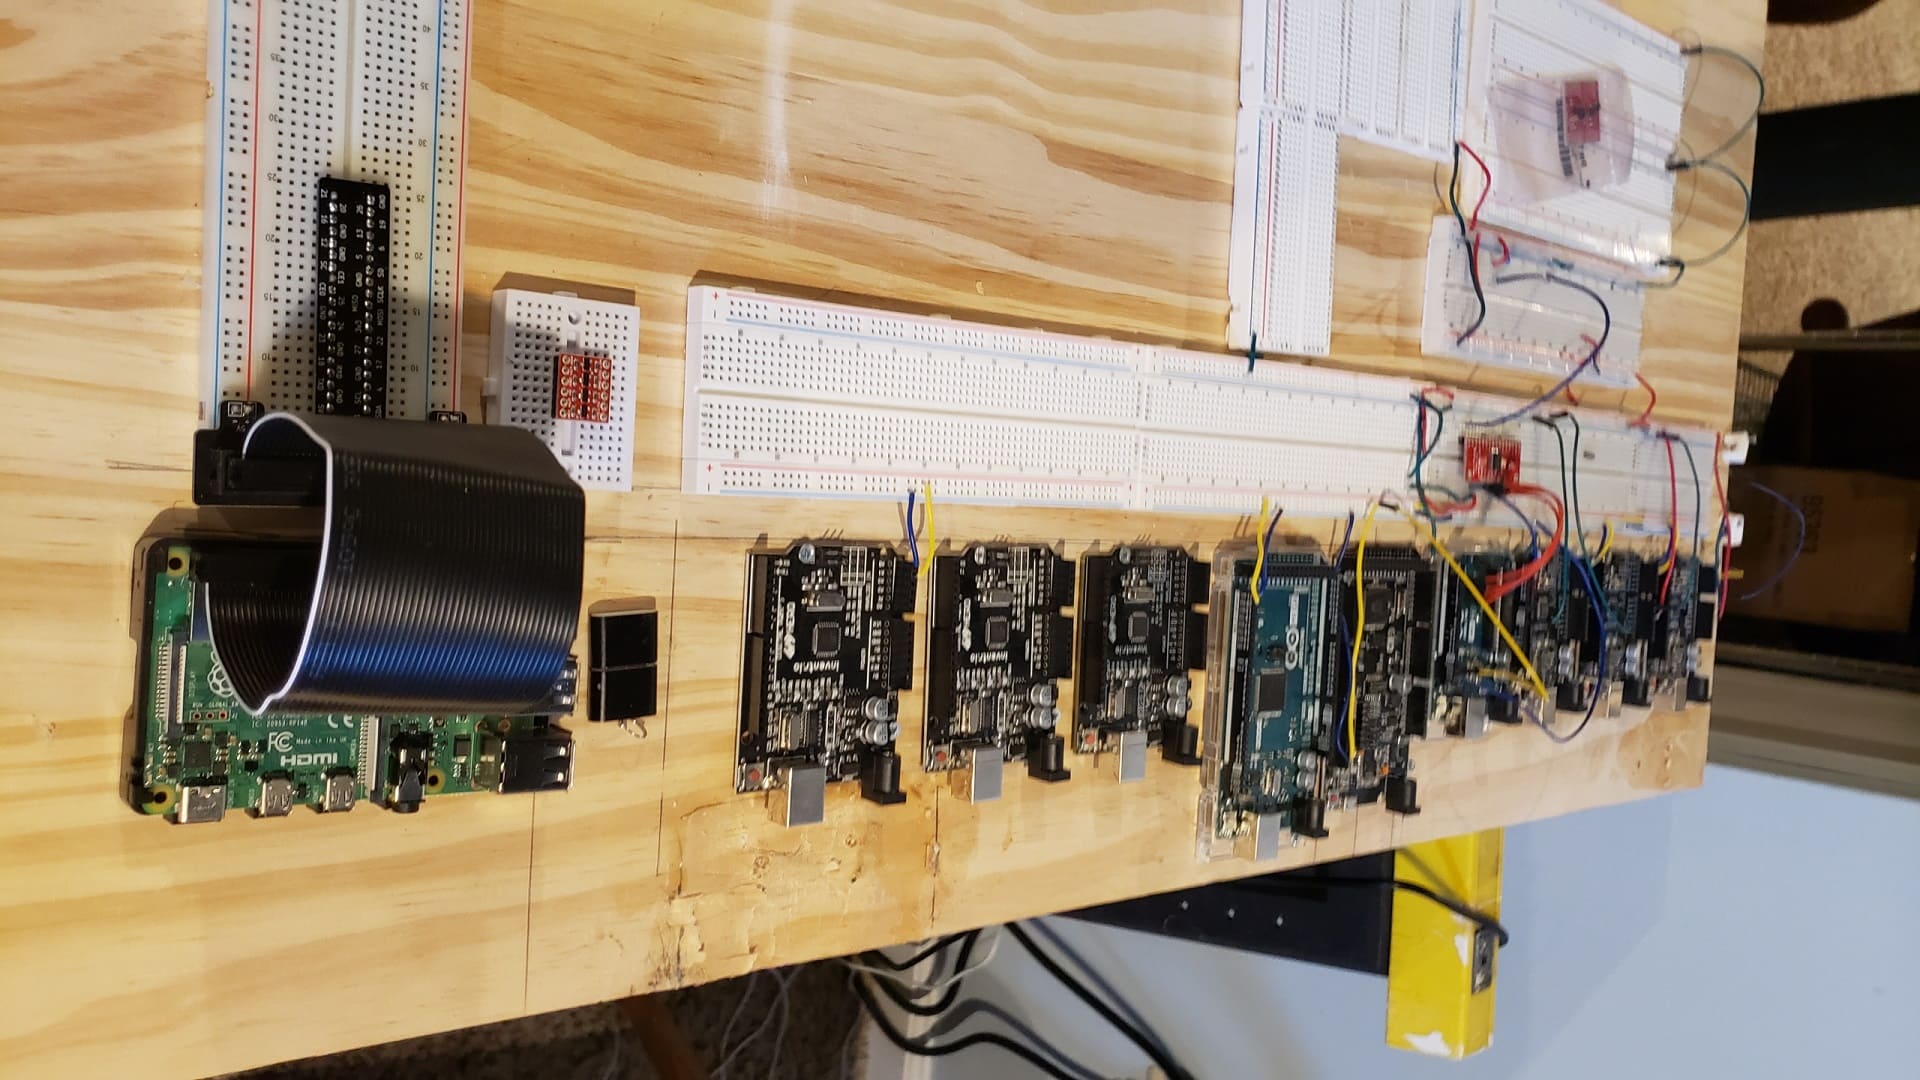
Below is the code you use to find I2C device addresses on an Arduino device. On a Raspberry Pi you use I2CDevice -y 1. Raspberry Pi has two I2C buses. Bus 0 is used for a HAT device on top of a Pi. Bus 1 is used for I2C communication. You will see in my setup I have a Bi Directional Logic Level chip to convert 3.3V to 5V devices.
Scanning…
I2C Address is 0x05 !
I2C Address is 0x06 !
I2C Address is 0x07 !
I2C Address is 0x09 !
I2C Address is 0x0A !
I2C Address is 0x0B !
I2C Address is 0x0C !
Done
Raspberry Pi Terminal
sudo
I2Cdetect -y 1.
SMBus(1) is the I2C bus you communicate with.
/*I2C_scanner
  This sketch tests standard 7-bit addresses.
  Devices with higher bit address might not be seen properly.*/

#include <Wire.h>

void setup() {
  Wire.begin();

  Serial.begin(9600);
  while (!Serial);
  Serial.println("\nI2C Scanner");
}

void loop() {
  byte error, address;
  int nDevices;

  Serial.println("Scanning...");

  nDevices = 0;
  for (address = 1; address < 127; address++ ) {
    Wire.beginTransmission(address);
    error = Wire.endTransmission();

    if (error == 0) {
      Serial.print("I2C device found at address 0x");
      if (address < 16)
        Serial.print("0");
      Serial.print(address, HEX);
      Serial.println("  !");

      nDevices++;
    }
    else if (error == 4) {
      Serial.print("Unknown error at address 0x");
      if (address < 16)
        Serial.print("0");
      Serial.println(address, HEX);
    }
  }
  if (nDevices == 0)
    Serial.println("No I2C devices found\n");
  else
    Serial.println("done\n");

  delay(5000);
}
sudo i2cdetect -y 1
0 1 2 3 4 5 6 7 8 9 a b c d e f
00: -- -- -- -- -- -- -- --
10: -- -- -- -- 14 15 16 17 18 19 1a 1b 1c -- -- --
20: -- -- -- -- -- -- -- -- -- -- -- -- -- -- -- --
30: -- -- -- -- -- -- -- -- -- -- -- -- -- -- -- --
40: -- -- -- -- -- -- -- -- -- -- -- -- -- -- -- --
50: -- -- -- -- -- -- -- -- -- -- -- -- -- -- -- --
60: -- -- -- -- -- -- -- -- -- -- -- -- -- -- -- --
70: -- -- -- -- -- -- -- --