Husband to an amazing wife and two adorable children. This website covers electrical engineering projects. I have Arduinos and a Raspberry Pi. The EE Lab has everything that I had available at university. This lab has grown and changed over 20+ years. You will learn C# (Arduino) and Python (Raspberry Pi). It covers circuit design. I have 30+ sensors that can be integrated.
RPi First Setup
Raspberry Pi 4B has some configurations to do for you to get it fully configured. I use the gigabit ethernet port instead of wireless (wifi). My EE Lab has its own gigabit CAT 6 connection and switch. If you need wifi configuration, I will find the notes for you later on. RPi is short name for Raspberry Pi
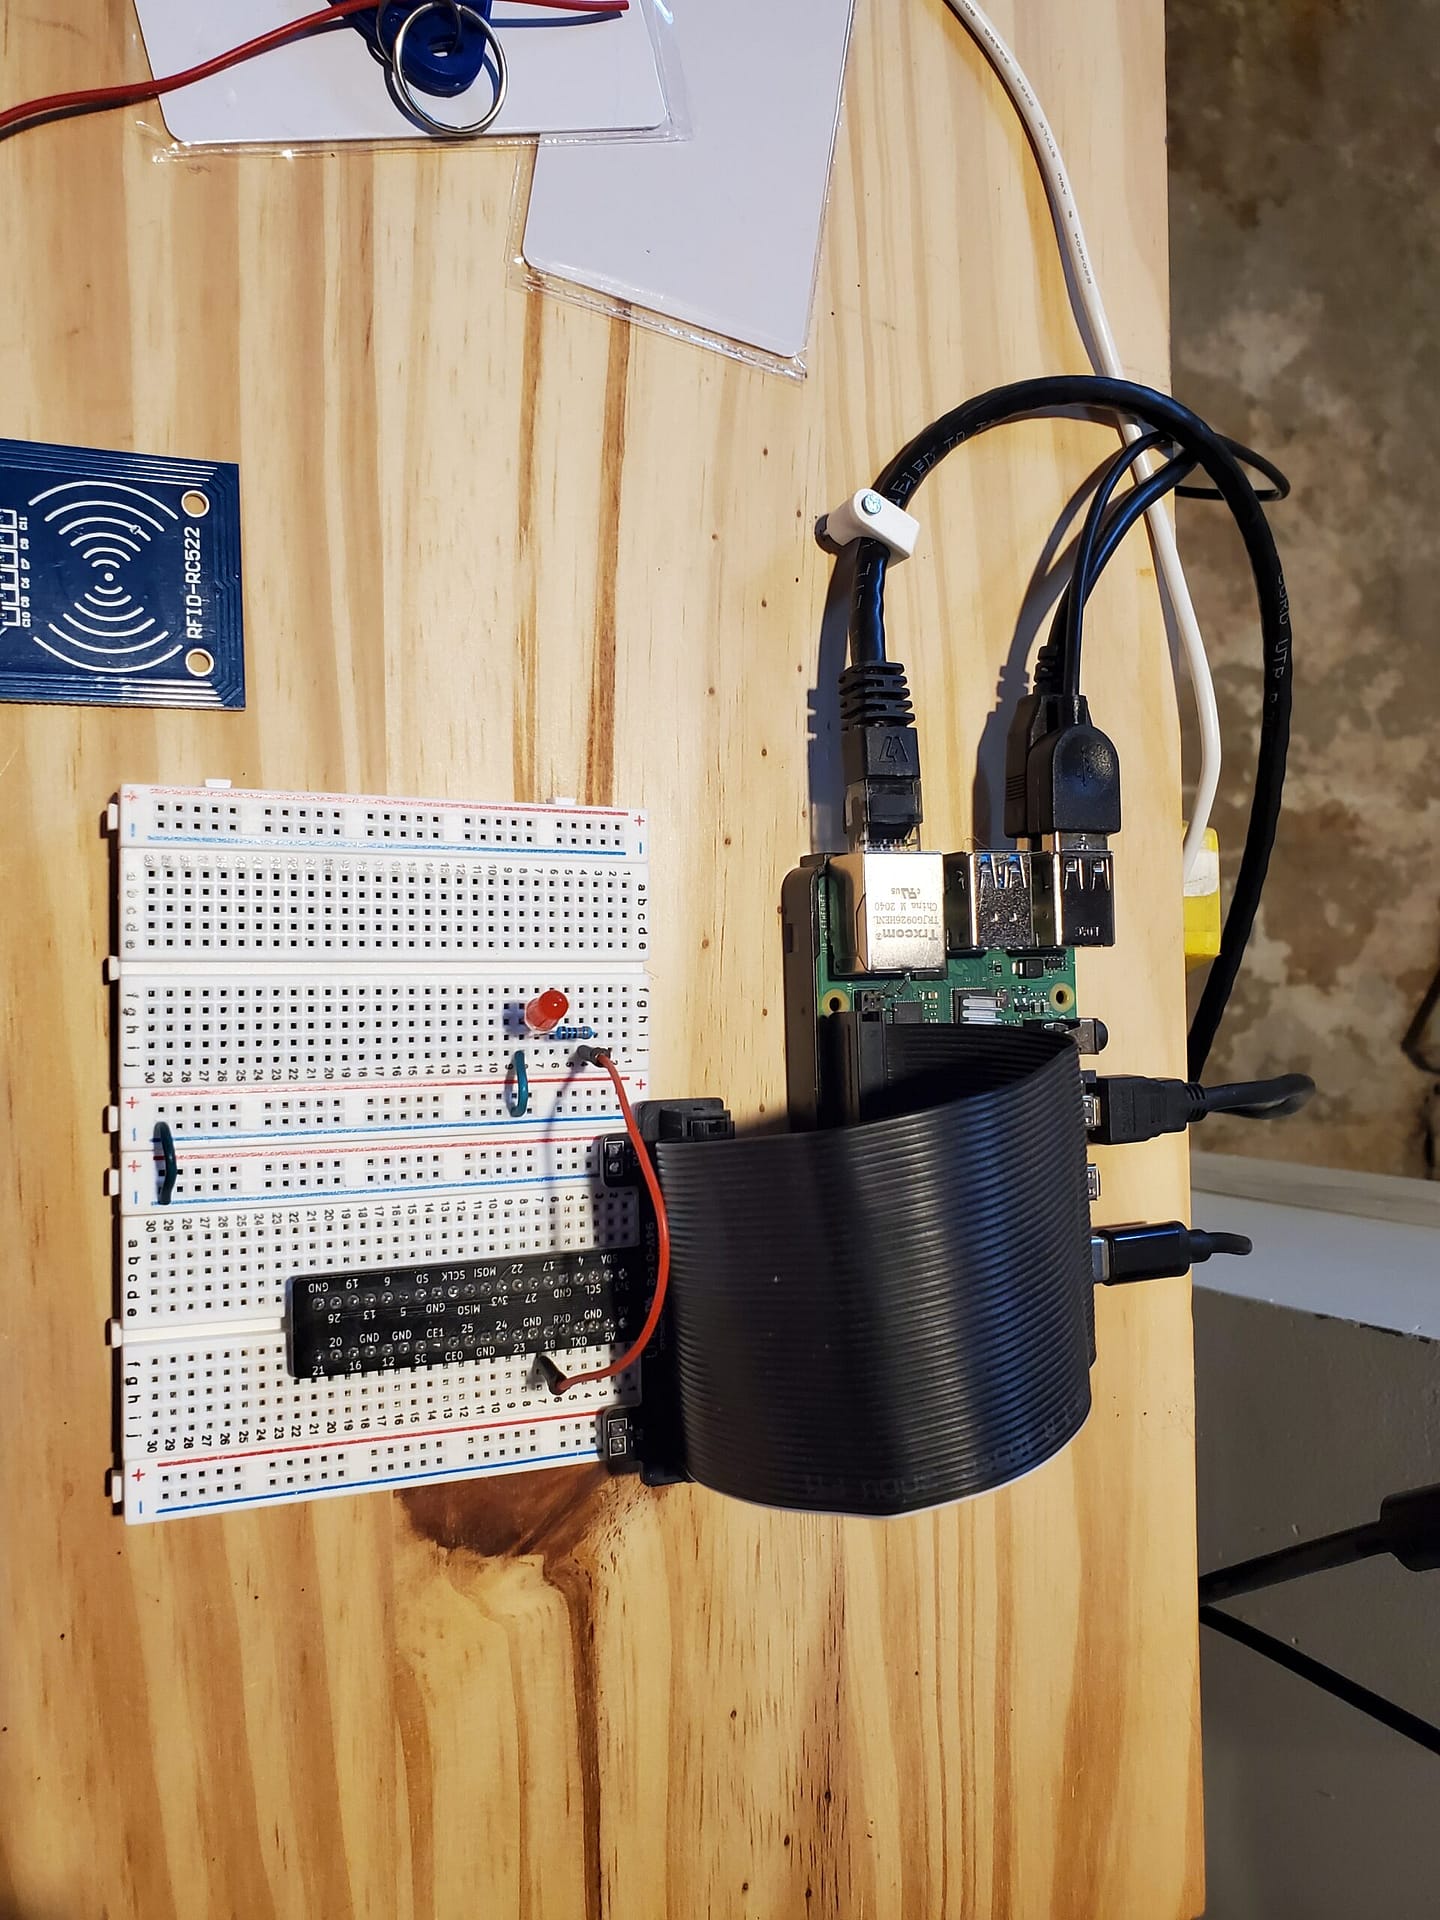
Here is my RPi and the T-Cobbler. The T-Cobbler help with building circuits. It is labelled for each pin. I have my normal test circuit installed. An LED and 330 Ω resistor connected to GPIO 18. RPi is a 3.3V device not 5V. I stay with the 3.3V configuration on it.
1.) Base installation of Raspberry Pi latest operating system
RPi-Imager to burn the SD card https://www.raspberrypi.com/software/
Follow the documentation for your workstation (computer) operating system to install the RPI-Imager software. You will need to use the USB dongle to burn the SD card.
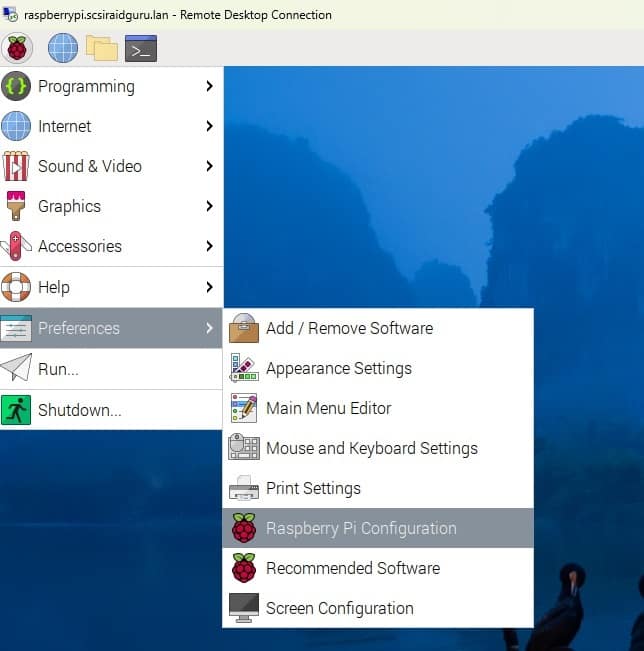
2.) Raspi-Config: You need to turn on several features that are off by default
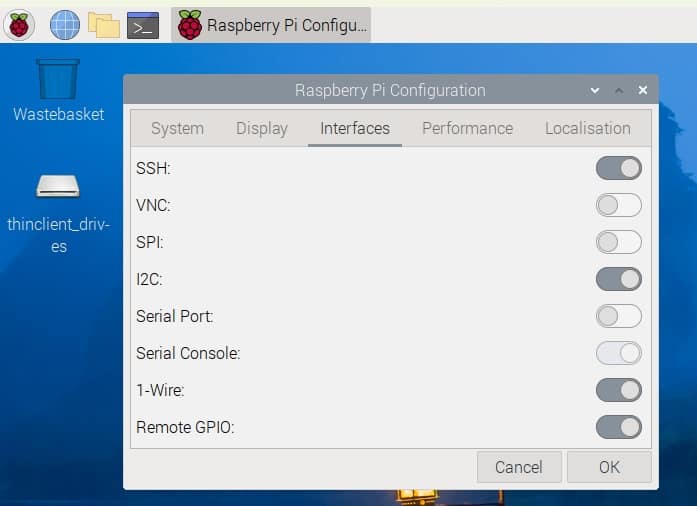
Click on interfaces. I turn on SSH, I2C, 1-Wire, and Remote GPIO. I have a section on using I2C to connect all my devices together.